How to Do Your Weekly GLP-1 Shot: A Calm, Step-by-Step Guide for First-Timers
Feeling a little nervous before your very first weekly shot is completely normal. The good news? Subcutaneous needles are tiny, hair-thin, and go just under the skin (never into a muscle). Most people finish their first dose and say, "Wait, that was it?"
The quick reassurance (before you begin)
- This is NOT a deep muscle shot like a flu vaccine. Weekly tirzepatide and semaglutide injections are subcutaneous, which means they go into the soft layer of pinchable fat just beneath your skin.
- The needle is tiny. Standard insulin-style syringes use an ultra-short (typically 4 mm to 8 mm), hair-thin needle (30G to 31G) that most people barely feel.
- Always follow your pharmacy label first. Because compounded vials can come in different concentrations, always check your prescription label for your exact number of units before drawing up your dose.
1. What to lay out on a clean counter
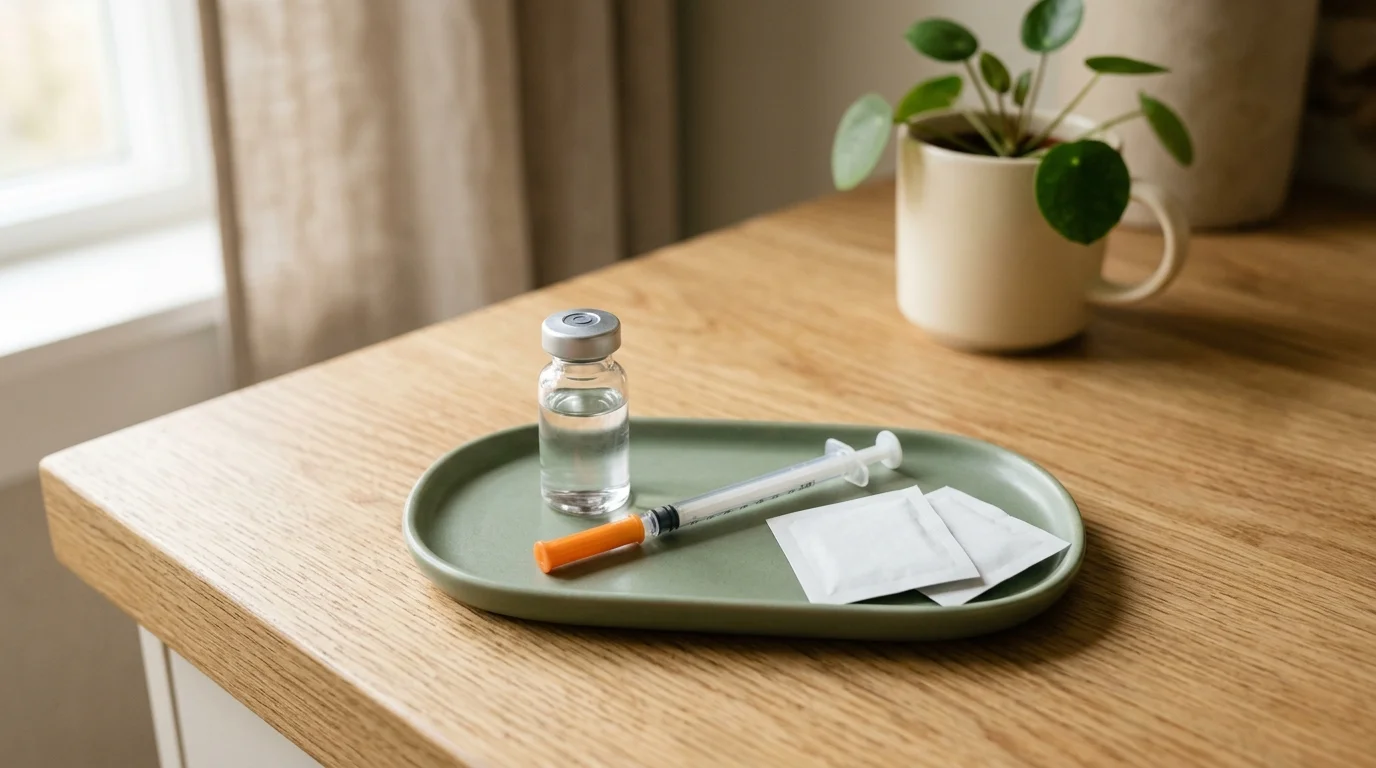
Before you start, wash your hands thoroughly with soap and warm water, dry them with a clean towel, and gather these 4 items from your shipment:
- Your medication vial from the refrigerator (check the label to make sure it is clear, colorless, and free of particles or cloudiness).
- 1 brand-new, sterile syringe (never reuse a syringe or needle).
- 2 alcohol prep pads (one to wipe the top of the vial, one to clean your skin).
- A sharps container (or a heavy-duty hard plastic household container, like an empty laundry detergent bottle with a tight screw-top lid labeled "Sharps").
Pro tip for zero sting: Cold liquid straight from the fridge can sometimes feel a tiny bit pinchy going in. Once you draw your dose into the syringe, letting the capped syringe sit on a clean counter for 5 to 10 minutes to warm toward room temperature makes it much more comfortable. Put your medication vial right back into the refrigerator so you do not forget it out.
2. Picking your spot: the 3 best injection areas
You want to inject into an area with a soft layer of subcutaneous fat. There are three clinician-recommended spots, and you should rotate your spot each week (even moving an inch or two over or switching sides) so your skin stays healthy and absorbs the medication smoothly:
| Injection site | Where to aim | Why patients like it |
|---|---|---|
| 1. Stomach (abdomen) | Anywhere on your lower belly with pinchable softness, staying at least 2 inches (about 2 finger-widths) away from your belly button and away from your waistband or any scars. | Most popular & easiest to reach. Has the most natural cushioning, so most people feel almost nothing here. |
| 2. Front or outer thigh | The middle third of the front or slightly outer part of your thigh (halfway between your knee and hip, where you can gently pinch a fold of skin while sitting down). Avoid the inner thigh. | Easy to see and reach while sitting comfortably in a chair. |
| 3. Back of the upper arm | The soft, fleshy back portion of the upper arm (about 3 inches below your shoulder and 3 inches above your elbow). | A great third rotation option, though it is easiest if a partner or family member helps pinch the skin for you. |
3. Step-by-step: drawing your dose and doing the shot
Take a slow breath. The entire process takes about 60 seconds:
Step 1: Clean the vial stopper
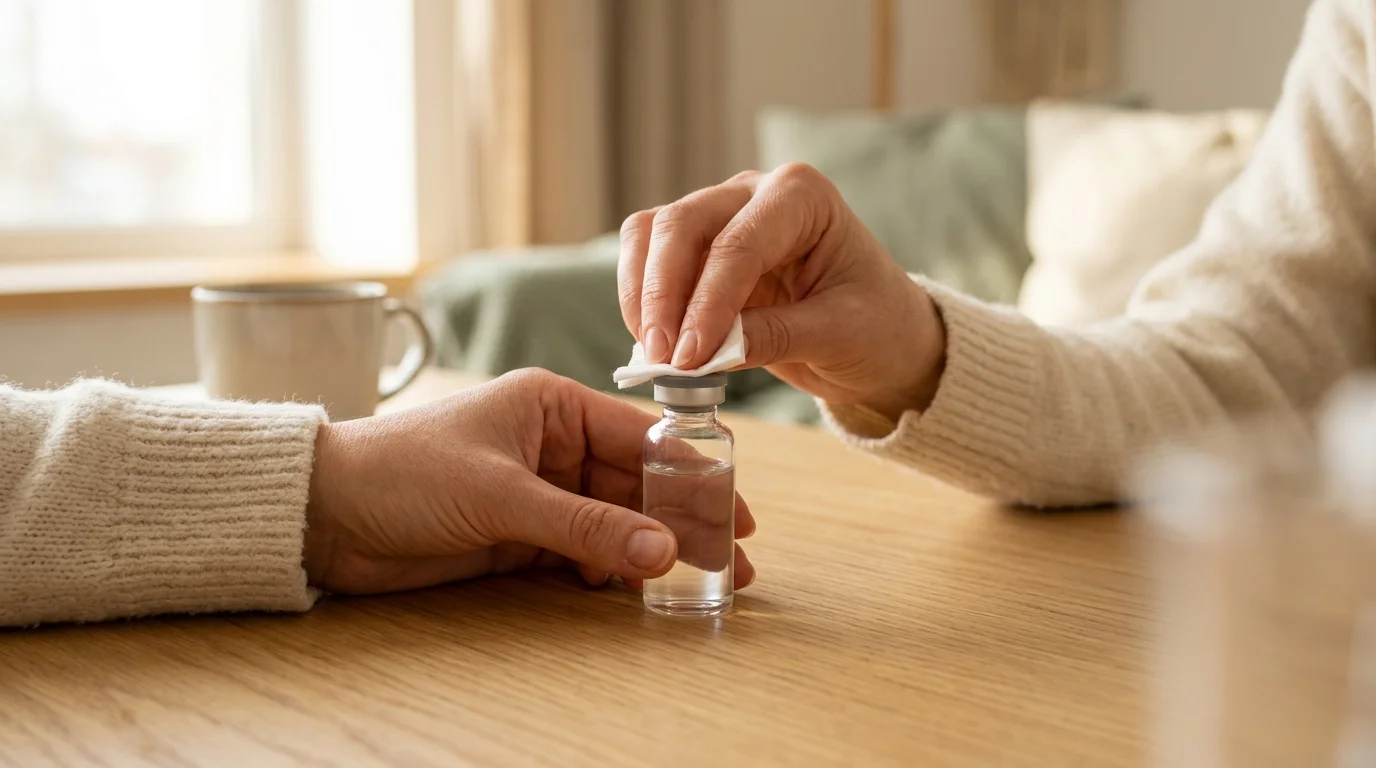
If it is a brand-new vial, pop off the plastic protective cap (do not remove the metal ring or the rubber stopper underneath). Scrub the rubber stopper on top of the vial with a fresh alcohol pad for 5 seconds, then let it air-dry for about 10 seconds so you do not carry alcohol into the vial.
Step 2: Draw air into the syringe
Remove the protective cap(s) from your syringe, taking care not to touch the needle. Check your prescription label for your prescribed number of units (for example, 10 units, 25 units, etc.). Pull the plunger back to draw air into the syringe up to that exact unit line.
Step 3: Inject the air and draw your medication
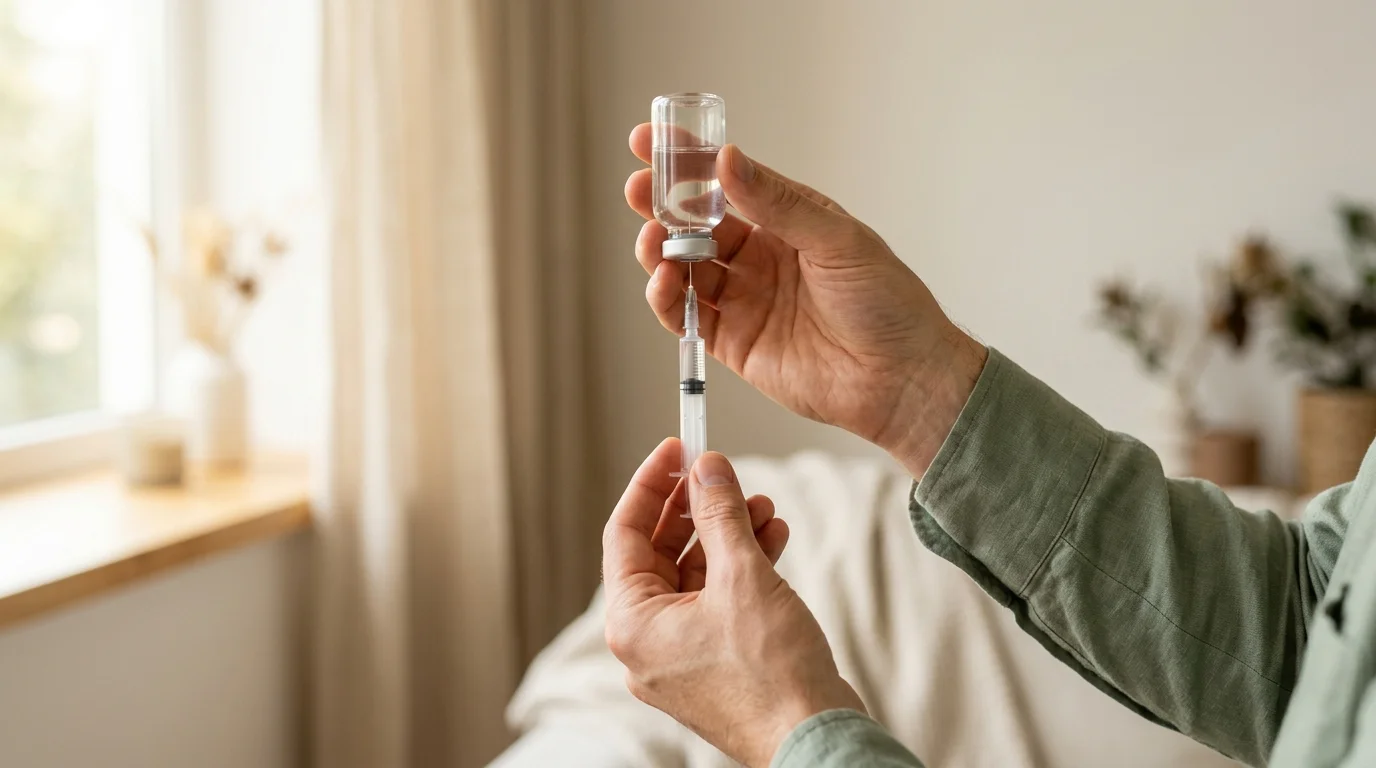
With the vial sitting flat on the counter, push the needle straight down through the center of the rubber stopper. Push the plunger all the way down to put that air into the vial (this prevents a vacuum and makes drawing liquid effortless).
Keeping the needle in the stopper, turn the vial and syringe upside down together at eye level. Make sure the tip of the needle stays completely underwater in the liquid, then slowly pull the plunger down to your prescribed unit mark.
- See a tiny air bubble? Gently tap the side of the syringe barrel with your finger so the bubble floats to the top, push it back into the vial, and pull back again until the flat top edge of the black rubber plunger sits cleanly on your unit line. Pull the needle straight out of the vial.
Step 4: Clean your skin and let it dry
Use your second alcohol pad to wipe your chosen injection spot (stomach, thigh, or upper arm). Wait 10 to 15 seconds for the alcohol to dry completely (and do not blow on it). Injecting through wet alcohol is the #1 reason people feel a surface sting!
Step 5: Pinch, insert, and press
With one hand, gently pinch a 1-to-2-inch fold of skin and soft tissue. With your other hand, hold the syringe like a pencil or dart and push the tiny needle smoothly all the way in at a 90-degree angle (straight in).
Once the needle is in, slowly and steadily push the plunger all the way down until the syringe is empty. Count slowly to 5 ("one-one-thousand, two-one-thousand...") before pulling the needle straight out and letting go of your pinched skin.

Step 6: Toss the syringe safely
Drop the used syringe directly into your sharps container without trying to snap the needle off. If you see a tiny drop of blood or clear liquid on your skin, gently press a cotton ball or tissue over the spot for a few seconds (do not rub the area). You are all done until next week!
4. 5 everyday tips that make shot day a breeze
- Units are not the same as milligrams (mg): Syringes are marked in units (where 100 units = 1 mL), while your medication strength is measured in milligrams (mg). Always read the exact number of units printed on your pharmacy prescription label, and message your care team in the patient portal if you ever want a quick double-check before injecting.
- Pick a consistent weekly anchor day: You can take your shot any day of the week, at any time of day, with or without food. Many patients like Thursday or Friday evening so they can relax over the weekend as the dose peaks.
- What if you miss your usual day? Generally, if you remember within 3 to 4 days of your scheduled dose, you can take it as soon as you remember and stay on your regular schedule. If more than 4 days have passed, skip the missed dose and take your next dose on your normal scheduled day (never take two doses within 72 hours of each other). Check with your clinician if you are ever unsure.
- Keep your meal light on shot day: Eating smaller portions, staying hydrated with water or electrolytes, and skipping heavy, greasy, or fried foods the day of your injection helps keep your stomach feeling great.
- Refrigerate your vial (never freeze it): Store your medication vial in the refrigerator between 36°F and 46°F (2°C to 8°C), away from the back freezer vent, and always observe the Beyond-Use Date (BUD) printed on your pharmacy label.
Have questions for a licensed clinician?
Every Sovi plan includes 24/7 portal messaging, biweekly 1:1 coaching, and guidance from licensed clinicians in all 50 states. Start your intake or log in to your portal anytime.
* Educational information only; this guide provides general educational instructions on subcutaneous self-injection technique and does not replace your specific pharmacy label or licensed clinician’s instructions. Always verify your prescribed dose in units on your dispensed pharmacy label before administering medication. If you experience severe abdominal pain, persistent vomiting, or signs of an allergic reaction (such as hives, swelling of the face or throat, or difficulty breathing), seek immediate in-person medical attention. Compounded medications are not FDA-approved; FDA does not review them for safety, effectiveness, or quality before marketing. Sovi does not manufacture compounded medications. Product images are illustrative, and actual dispensed packaging and labeling may differ.